How to make a fabric textbook cover!
Posted by Bianca Howell on
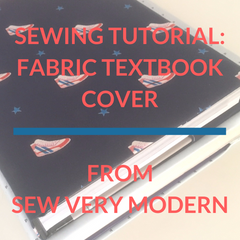
It's that time of year again - Back to School! To celebrate the kids returning to class, I have created this fabric textbook cover, so your child can have a unique book cover!
Materials needed: 1/2 yard fabric, sewing machine, rotary cutter, ruler, cutting mat, other basic sewing supplies and, of course, a text book.
1. Open your textbook to measure the length and the width.
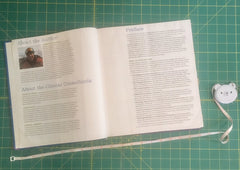
2. To determine how much fabric to cut, we will add 2" to the length and 6" to the width. For example, my book is 20.5" by 11", so I cut a piece of fabric that is 26.5" by 13". To cut your fabric, I find it easiest to use a rotary cutter, ruler and mat. That way you will get the most precise cut.
3. Fold your short ends 1/4", sew them with a 1/8" seam allowance, and press.
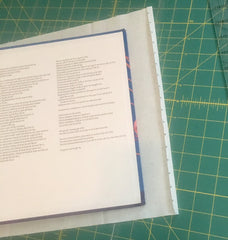
4. Place the book in the middle of the fabric, right side of fabric facing up. Fold the sides of the fabric over the cover of the book on both sides - paying close attention that the book remains in the middle. Mark your stitch lines on both top folds, place a pin in each fold and then sew. Make sure you do not sew over the folded hem and be sure to backstitch at the beginning and end of each sewn line.

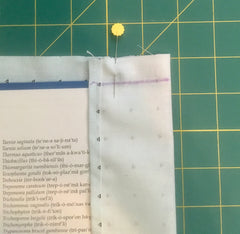
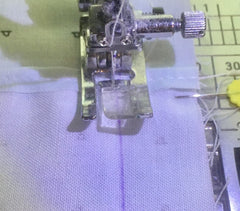
5. You will repeat this process for the bottom corners, too. But, first, re-fit the book with the tops completed and make any necessary adjustments needed to insure you have a snug fit.
6. Now its time to turn the side pockets right side out and press the top and bottom seams, as well as the sides.
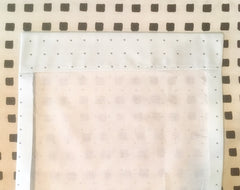
7. And, voila, you are finished - go ahead and place the cover on your textbook!
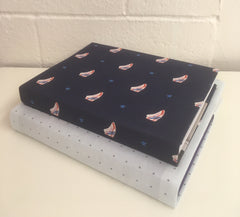
I hope you have enjoyed our first-ever sewing tutorial here on Sew Very Modern. And we hope your child enjoys having a one-of-a-kind book cover!
Look forward to more sewing tutorials, tips and new fabric spotlights in the future . . . Thanks for reading and happy sewing!
