Tuesday's Tip - How to Sew Mitered Corners
Posted by Bianca Howell on
Knowing how to sew mitered corners can be a very useful skill. Mitered corners are used mainly when making cloth napkins, but they can also be used for such other household items as blankets, table runners and placemats. Luckily, getting that perfect mitered corner is very easy. All you have to do is follow these steps!
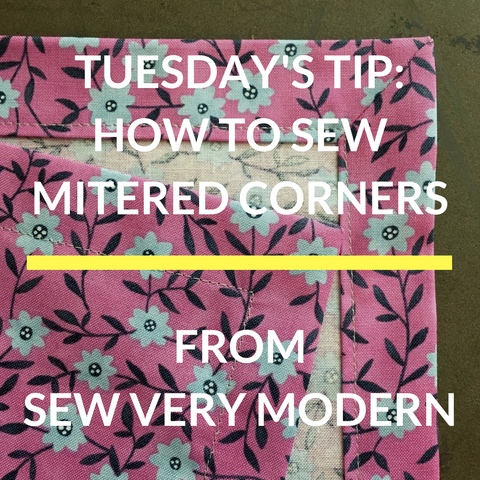
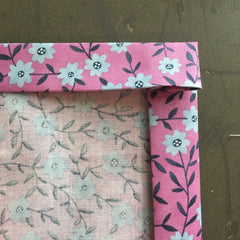
1 - Fold all of the four sides of your fabric. For my napkin, I first pressed each side 1/4" and then I pressed a 1" fold. Of course, you can adjust your measurements to meet your specific needs. (A typical napkin will measure about 18"-20".)
2 - Open up your corner. You will see the pressing marks - and they will act as your guide for your next press.
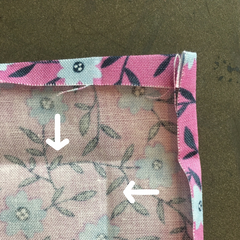
3 - Now that you have your folding marks, fold the corner in so that the folds meet those marks, and then press.
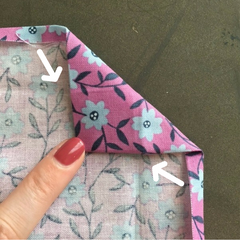
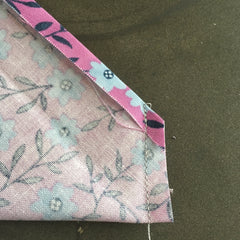
4 - Open up and fold the corner in half with right sides of the fabric touching. Pin on to place and sew along the fold mark. Be sure to backstitch when you start and finish.
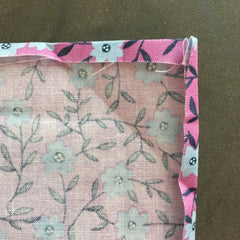
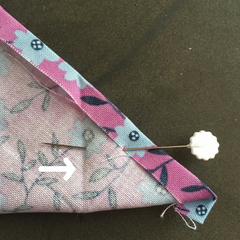
5 - Trim the end 1/4".
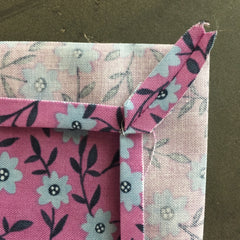
6 - Open up your corner and press your seams open.
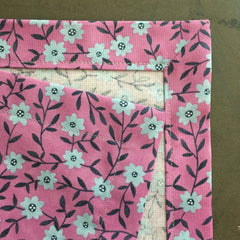
7 - Repeat this process on the other three corners. Once you are finished, flip your corners right side out. Be sure to poke your corner out so that each point is nice and pointy! Give your corners and all sides a good press.
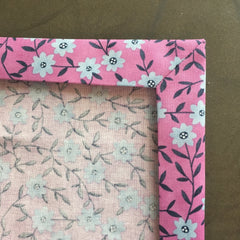
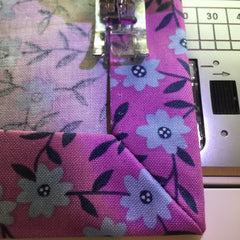
8 - Now, you will want to top stitch your sides in place. I like to sew with the back of the napkin up and use a 1/8" seam allowance (as shown). When you begin sewing, make sure you backstitch, at each corner pivot your fabric with the needle down, and then backstitch at the end. Give it a good press and you are finished!
Now that you know how to sew a neat mitered corner, make a variety of these napkins in different prints and textures. Not only are they a great way to dress up your dinner table, but they're a beautiful and eco alternative to paper towels. Just wash and reuse!

